


In 2026, our country turns 250 years old — and I decided it’s a year to go big or go home! We’re going to celebrate in true Sentimental Stitches fashion with a brand-new red, white, and blue quilt you’ll treasure. for years to come.

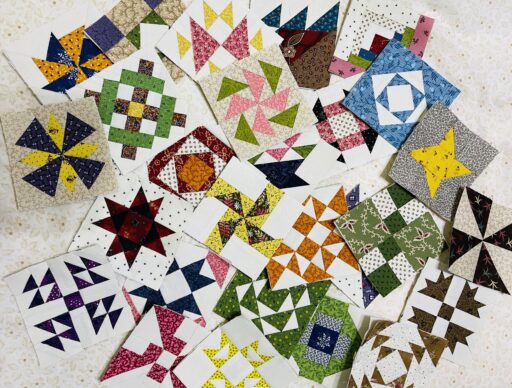
This special edition of Little Blocks will feature 50 unique blocks — one for each state. Each block will either be an official state quilt block or a design that represents something special about that state.
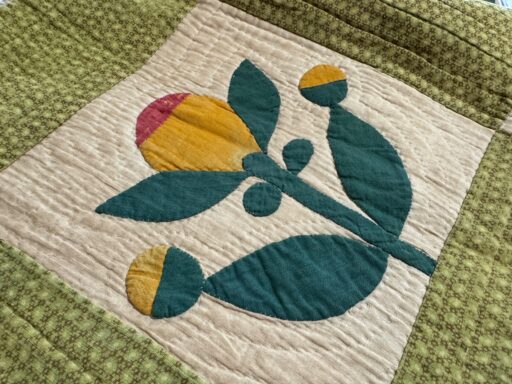
Now, I’ll be honest — a few of those state blocks include curved seams or details that are a bit too fussy to make in a 3" size, so I’ll make some creative judgment calls along the way. Some states even have more than one design to choose from, and a few include appliqué (and you know I can’t resist tossing in one or two of those!).
When it’s finished, this will be a truly one-of-a-kind quilt — a tribute to all 50 states and the spirit of America itself. Stitch by stitch, it’s going to be something special.

Here are the little details -
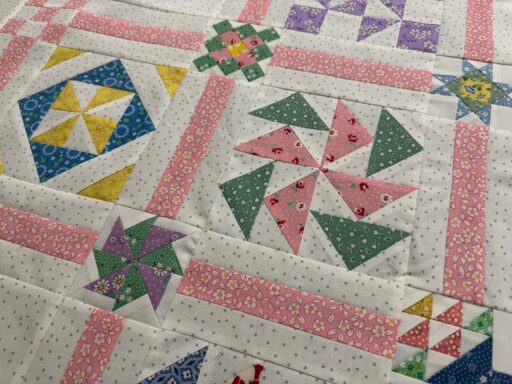
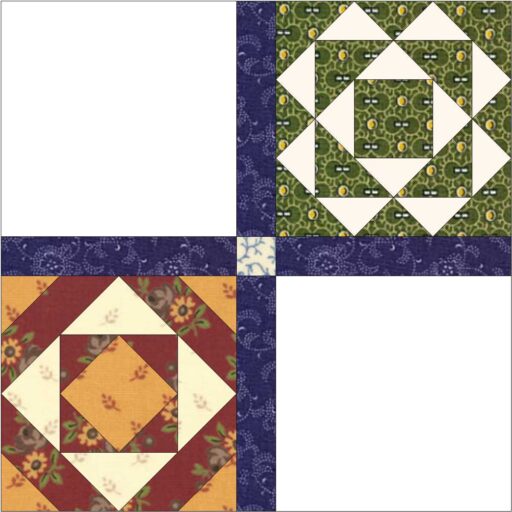
- 50 different state-themed 3" foundation paper pieced quilt blocks, so all our points are perfect! I might surprise you with a bit of applique!
- You’ll receive a 3” block pattern each week for 51 weeks, and your final finishing instructions will arrive on Friday, December 18, 2026.
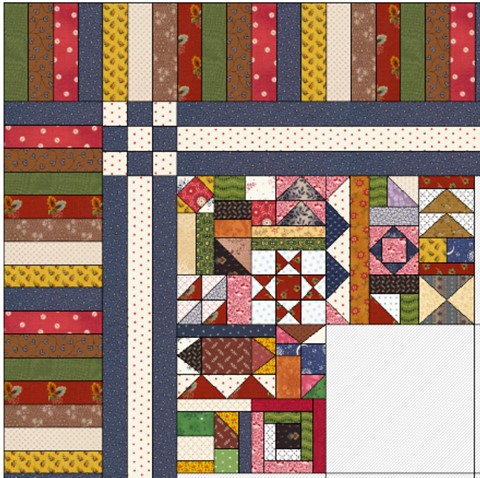
- The vast majority of the 3” Little Blocks will be foundation paper pieced blocks. The remainder of the quilt can be rotary cut and machine pieced.
- You know how I love to hide those Little Blocks. within another block. With those sections, you’ll have the option to foundation piece those parts if that’s your favorite method of construction.
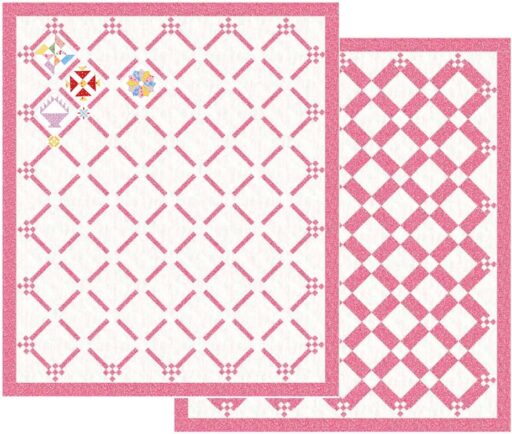
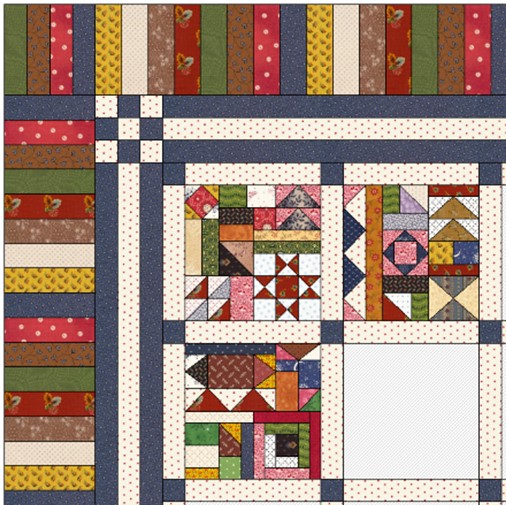
- The finished size of the quilt is 69” x 86” as shown in the pictured layout, but you can always add another border if you want to make a larger bed-size quilt.
We started on January 2nd, but you can join until the end of the month. It's a one-time fee that covers the entire year.


Follow Me!