

I was lucky enough to be introduced to this fantastic technique while attending a quilt retreat in Shipshewana, Indiana. Diane Rode Schneck
who taught at The City Quilter in New York City was our teacher. At first, I questioned the practicality of this method but have found it to be one of the best techniques I've ever learned. It has totally changed the way I do hand applique and greatly sped up the process.
While tallying the results of a survey I took several years ago, I discovered there were lots of quilters who had no idea what "back basting" was, and hope this tutorial will explain the process without making it sound complicated because it isn't. Sorry, no professional photos in this "tute" as I quickly snapped pictures while working on a block during my breaks at work. I think you'll get the idea.
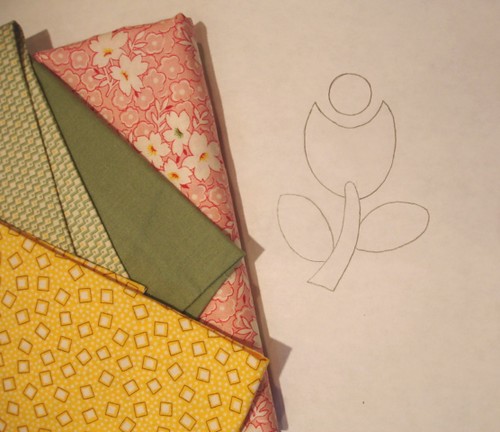
For this tutorial, I'll be using a block I drew for the 4 1/2" Midget Blocks. It is Block 87
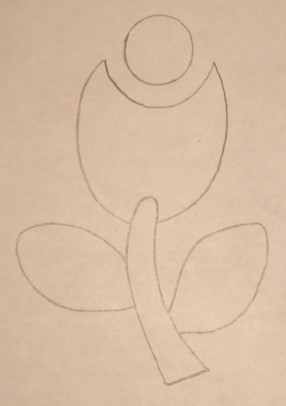
You'll need a reversed drawing of your applique design. I use this technique almost all the time so I draw my patterns on tracing paper. You can buy it in a variety of sizes, can see through it easily and by looking at the back side of your tracing your pattern can be seen in reverse without any extra work.
You can also scan the pattern into your computer and use software such as Photoshop or a word processing program to reverse the pattern. Most printers allow you to print mirror images and many copy machines offer you the option to print a mirror image.
I like to have vertical and horizontal markings identifying the center of the design for placement under my background fabric.

I usually cut my background fabric 1 1/2" larger than the finished size of the block and trim it after the applique is completed. (remember to include your seam allowance when trimming)
Press the background square in quarters, with the right side inside, so you'll have crisp fold lines to align with placement marks on the pattern.
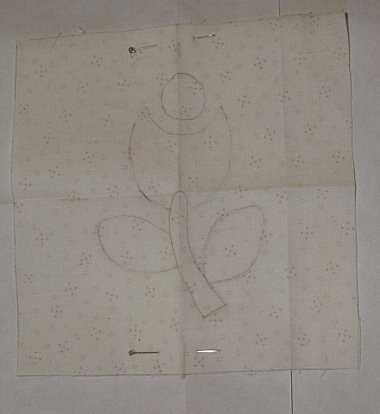
Place your background fabric square, with the right side of the fabric down, on top of the reversed copy of your applique pattern. Match the pressed fold lines to the quarter marks on your pattern. Pin in place to prevent shifting. Trace the entire appliqué pattern on the wrong side of your background fabric square. I use a mechanical style #2 pencil for marking. Most times you can see through your background fabric. If you find that difficult, a light table can be used, or tape the block to a window and let the sun shine through. I'll talk about working on a dark background at the end of the tutorial.

You can number pattern with an applique order if you'd like. On simple designs like this, I don't usually do this.

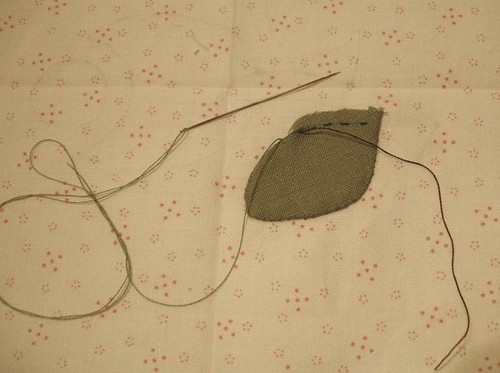
For each applique shape you'll need to cut a piece of fabric large enough to cover the area plus at least a 1/2" for your seam allowance. I don't like to waste fabric but I don't want to cut a second piece because the first one wasn't big enough. I look at each piece and mentally change it to a square or rectangle. It's easier to judge how large to cut your piece of fabric. I always err on the side of having too much rather than not enough.

Pin the applique piece to the right side of your background fabric positioning it over the area to be appliqued. I hold the fabrics up to the light to make sure I have enough fabric showing around the pattern area for my seam allowance. An Ott light or daylight lamp aids in seeing through the fabric. Add additional pins if necessary so your applique fabric doesn't shift as we move on to the basting.
I like to use quilting thread
in either dark brown or cream depending on which color will show up better on your appliqué fabric and a crewel needle.
The exact size isn't so important. I usually have a package of sizes 3/9 on hand. You want it to be a thicker needle.
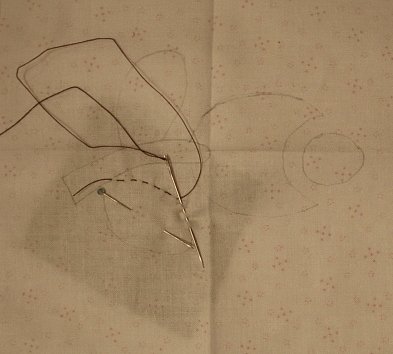
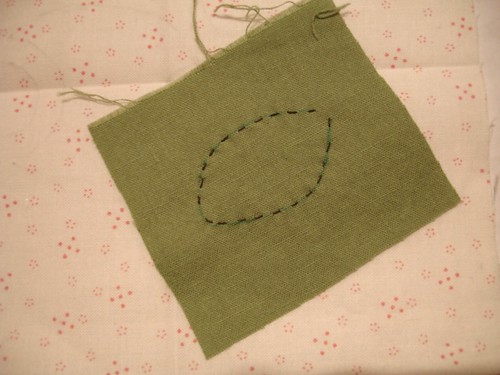
Begin basting the applique piece in position by stitching exactly on the line drawn on the wrong side of the background fabric. There's no need to start with a knot. I leave a 3/4" long tail at the beginning.

My stitches are just over 1/8" long. You don't want them too small but you don't want them as large as 1/4" either.

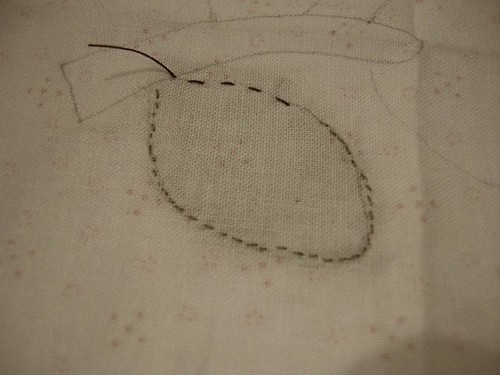
The first leaf basted in place.
I am more comfortable marking my stitching line on each applique piece. On light fabrics, I use a fine point, blue, washout marking pen
or a Frixion Pen
. On dark fabrics, I use Clover White Fabric Marking Pen
or a Bohin mechanical white chalk marking pencil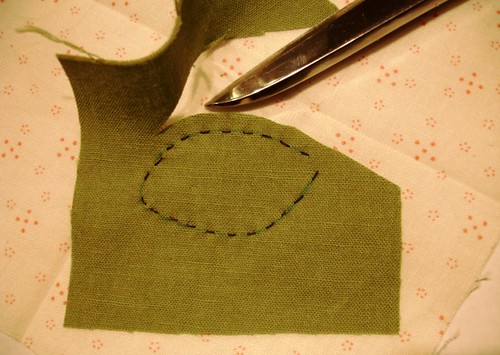
Cut around the basted shape leaving a scant 3/16" seam allowance.

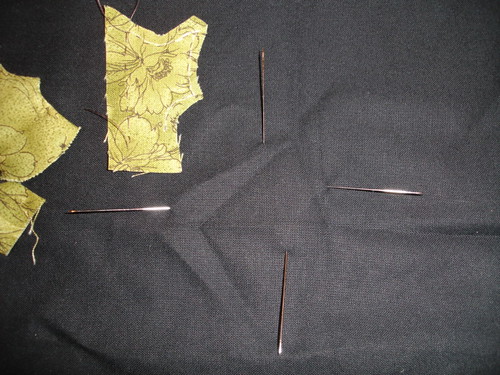
Remove the first couple of basting stitches and bring your needle up from the back of the applique piece right on the marked applique line. I applique left-handed so the direction of my stitching will look backward to many of you.

Begin your needle-turn applique stitching. As you feel yourself getting too close to the next basting stitches, remove two or three more.

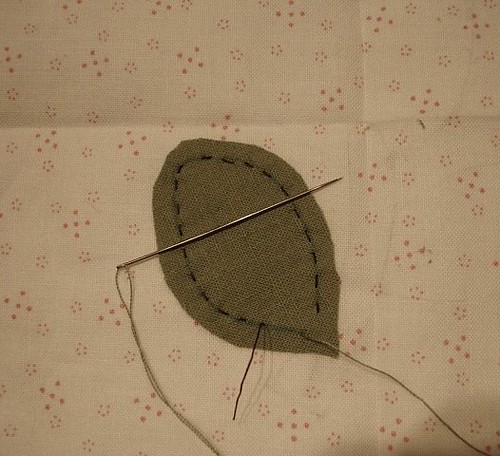
The first leaf is complete!
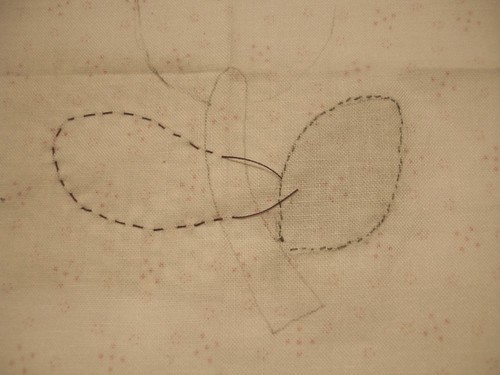
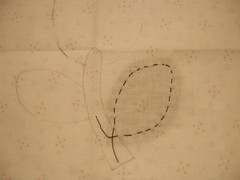
The second leaf basted in position.

Because the tulip and leaf don't overlap each other both pieces can be basted, trimmed, and ready to stitch.

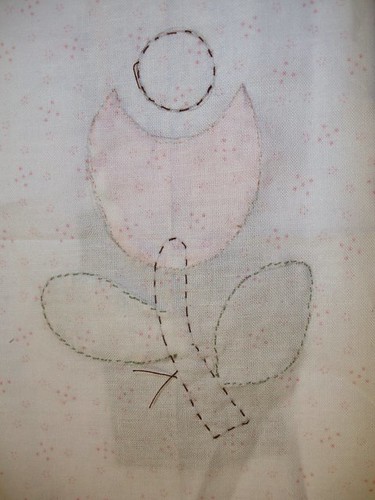
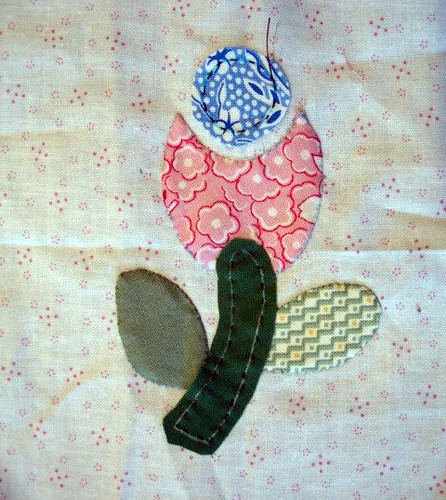
After appliqueing the second leaf and tulip, baste the stem and circle in position. Trim excess fabric leaving your seam allowance.

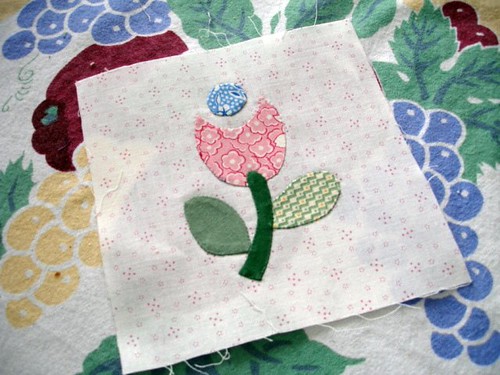
The completed block.
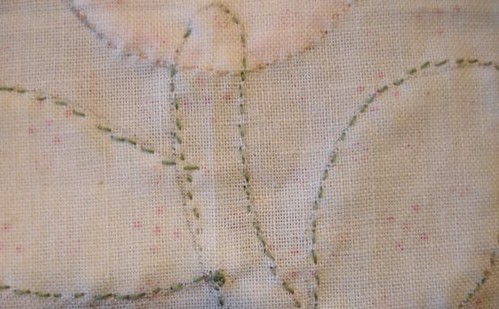

As you can see, my stitching strayed from the line on the left side of the stem and the first leaf. Because there are no markings on the front side of the block it doesn't cause a problem.
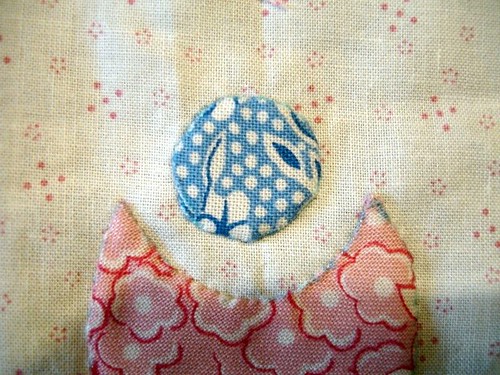
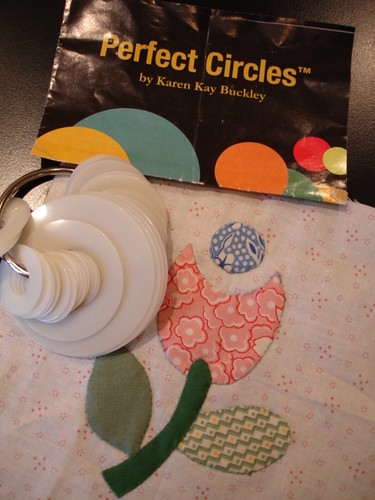
I usually make my circles using Karen Kay Buckley's Perfect Circles but with back basting you can stitch a pretty smooth circle if your drawn circle on the background has smooth edges.
WORKING WITH A DARK BACKGROUND
Using the reversed copy of your pattern, pin the design to the wrong side of your background fabric leaving an opening to slide a piece of light color (white or yellow) transfer paper under the design. Using a pencil, stylus, or ballpoint pen, trace over the design on the paper to transfer it to the background fabric.
Transfer paper is available as most fabric stores
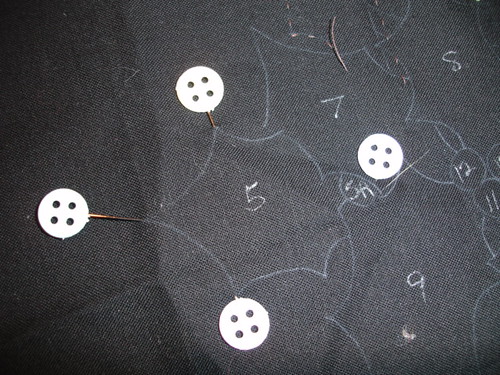
Because a dark background is difficult to see through I use pins to identify the general shape of the section so I know where to pin my applique piece on the right side of the fabric.
Continue following the previous instructions.


Follow Me!