

Advertisements:
Rosebuds are used often in floral applique blocks. It's a perfect place to add some dimension to your quilt and make the applique easier. Here's how to have finished edges ready to applique on the sweetest of rosebuds!
- Measure your pattern to determine the height of the finished rosebud. Remember to include the 1/4" seam allowance to be hidden under the calyx when measuring. Double that measurement and cut a circle from your fabric in that size. In this picture the bud measures 1 1/4" so we'll cut our circle 2 1/2".
- Fold circle in half with wrong sides together and press with a hot dry iron.
- Fold in half again and press so you can see a mark determining the center
- Bring the ends of the folded edge together to meet in the center. Press with a hot dry iron. Spray starch will be your friend in maintaining the this fold.
- Thread a needle with a double strand of thread. Sew within the seam allowance along the raw edge. Begin and end your stitching on the side showing the folded edges. Try to get one stitch to go across where the folded edges meet to keep them together and flat.
- Pull the line of stitching to gather tightly. Secure your stitching by knotting. You can hide the tail of thread inside the rosebud a bit before cutting your thread.
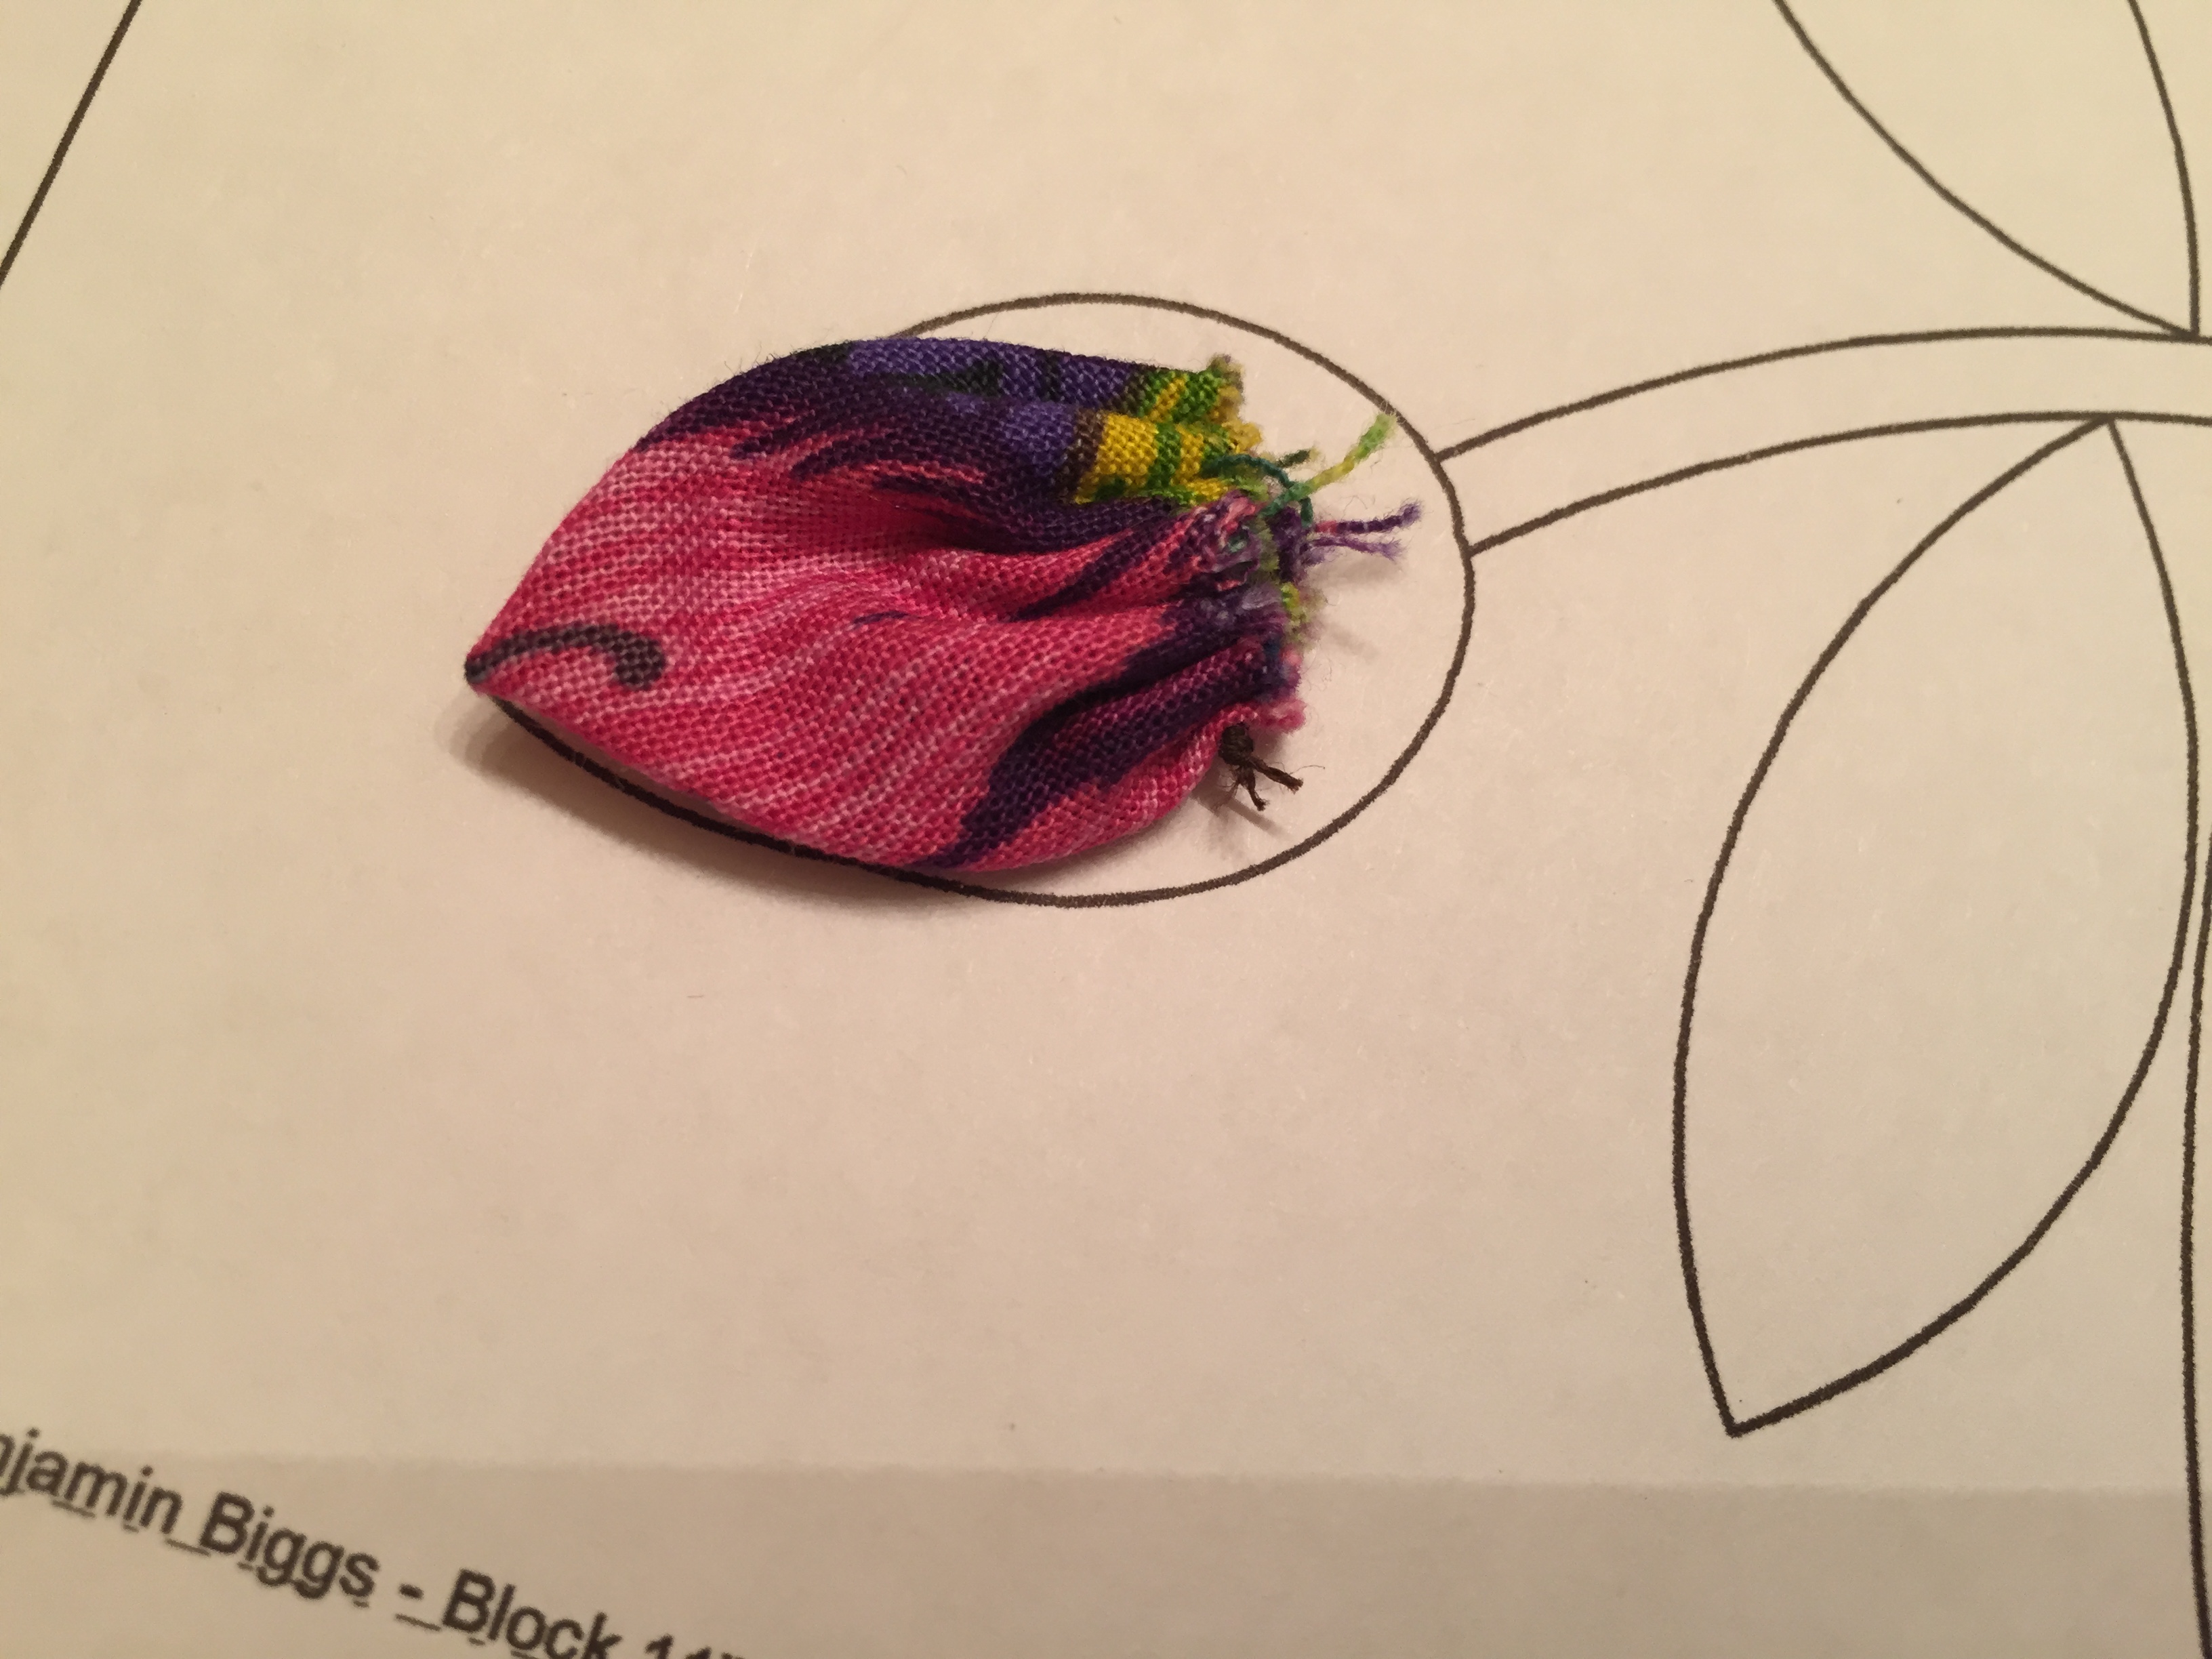
- You have a perfectly sized, dimensional bud for your block. I usually sew them down with the folded edges as the wrong side of the bud but you can use it either way.


Follow Me!