

This is a blog post I never thought I'd be writing. I had a pretty good idea of what the next few years would be like. I would continue Sentimental Stitches, host the Shipshewana Quilt Retreats and cruise into retirement. Haha, said God - not so fast............
A few weeks ago something totally unexpected happened. If you've read the "My Life in Stitches" page on the blog you know my family has a long history in quilting. The short version goes back to the F.A. Wurzburg Co who manufactured quilt kits and art needlework items during the early 1900s. My father got his first after-school job with them in 1926 and never left. He held several positions within the company and invented the machine that made the first slotted quilting stencils. When the company fell on hard times in the later years of the depression my father took over what remained of that business incorporating it into his mail-order company called Needleart Guild which was started alongside the Wurzburg Company to sell quilting stencils to individual quilters around the country. I worked with my parents growing up and for almost 20 years as an adult. When they retired, the Needleart Guild went to my brother and I started Sentimental Stitches. Sounds simple enough and that might have been the end of the story.
I had saved lots of things from the Wurzburg Company while working with my parents and over the years have collected quilt upon quilt along with any of the art needlework items I could find but a great deal of the things from the Wurzburg Company and Needleart Guild remained with my brother - until a few weeks ago, that is.
On September 9th all of the archives of the Wurzburg Company and Needleart Guild were transferred to me.
Thanks to my husband, son, and nephew, everything not already part of Sentimental Stitches was moved to a storage facility. It was a hot, dirty, strenuous job I can't thank them enough for doing. There's a lot of dirt and dust bunnies that can collect over 100 years!
Because I was in Traverse City, Michigan, my son made this little clip to give me a glimpse of some of what he and my husband were moving. It may look like just a bunch of old stuff so I'll try to explain. You'll see artist's drawings, boxes of partial quilt kits with fabric samples, machine parts, button and trim samples, art needlework catalogs and advertisements, tuff board quilting stencils manufactured by hand, old office equipment, and fabric cutting dies. This is just a glimpse.
I can't begin to tell you everything this entails but I guarantee you it's more than you can imagine and it took them 2 1/2 days to move.
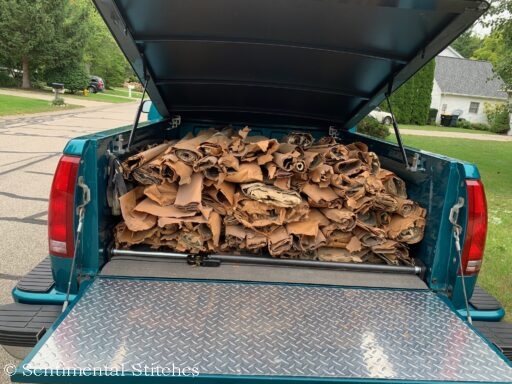
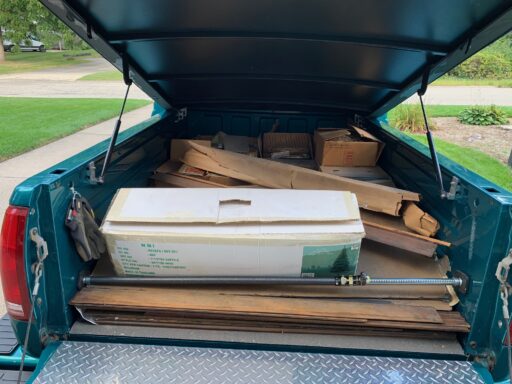
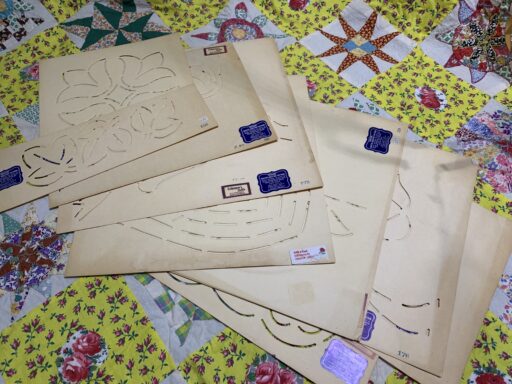
Each one of the paper rolls in the back of the truck represents a crib or full-size kit quilt pattern. These are the stamping masters that were used to transfer the markings to the fabric as quilt kits were manufactured. The Christmas tree box in the second picture is full of the handmade wood paddles used to spread the ink across the stamping masters. It was my father's first job at age 13 in 1924 to clean those paddles at the end of the day.
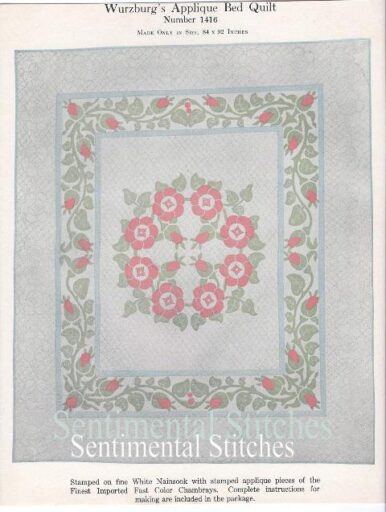
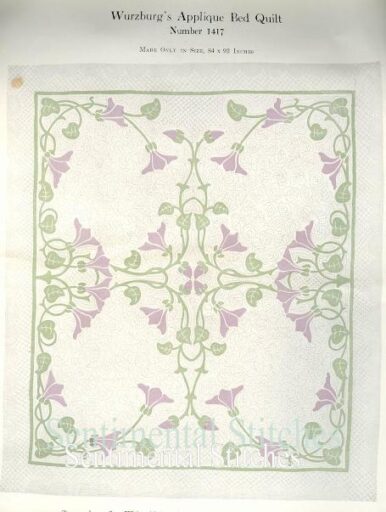
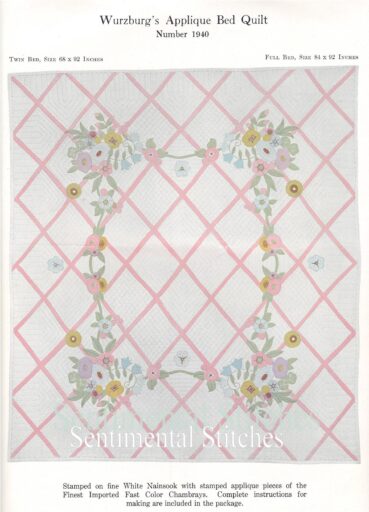
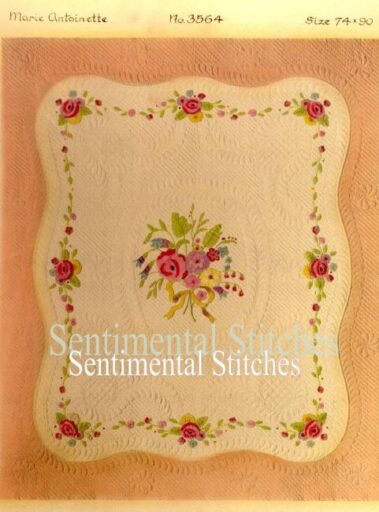
Are you wondering what kind of quilt patterns are in those rolls?
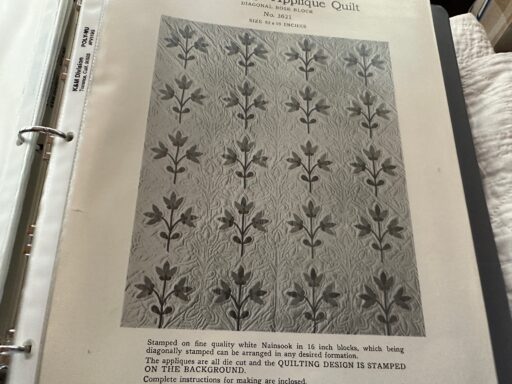


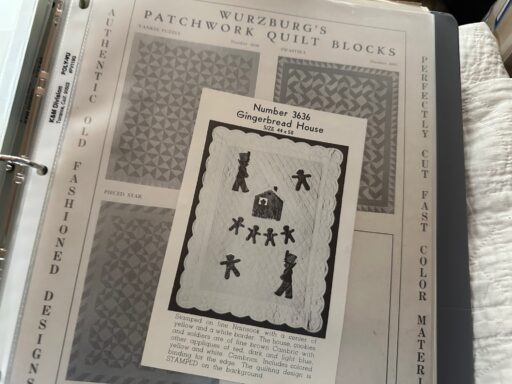
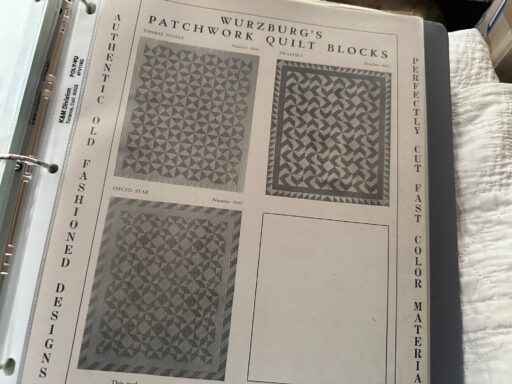


I picked a few I doubt you've seen before. If my memory is correct, there are well over 100 designs.
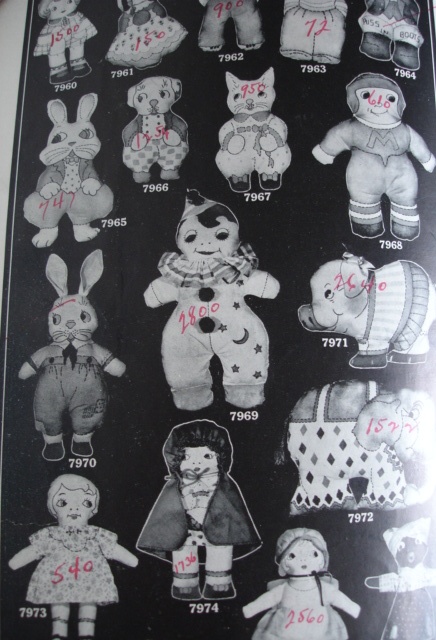
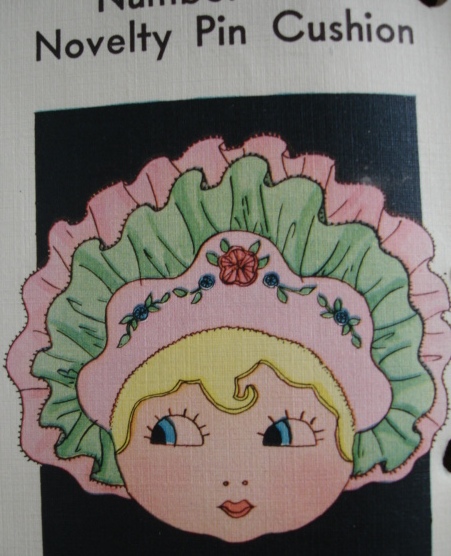
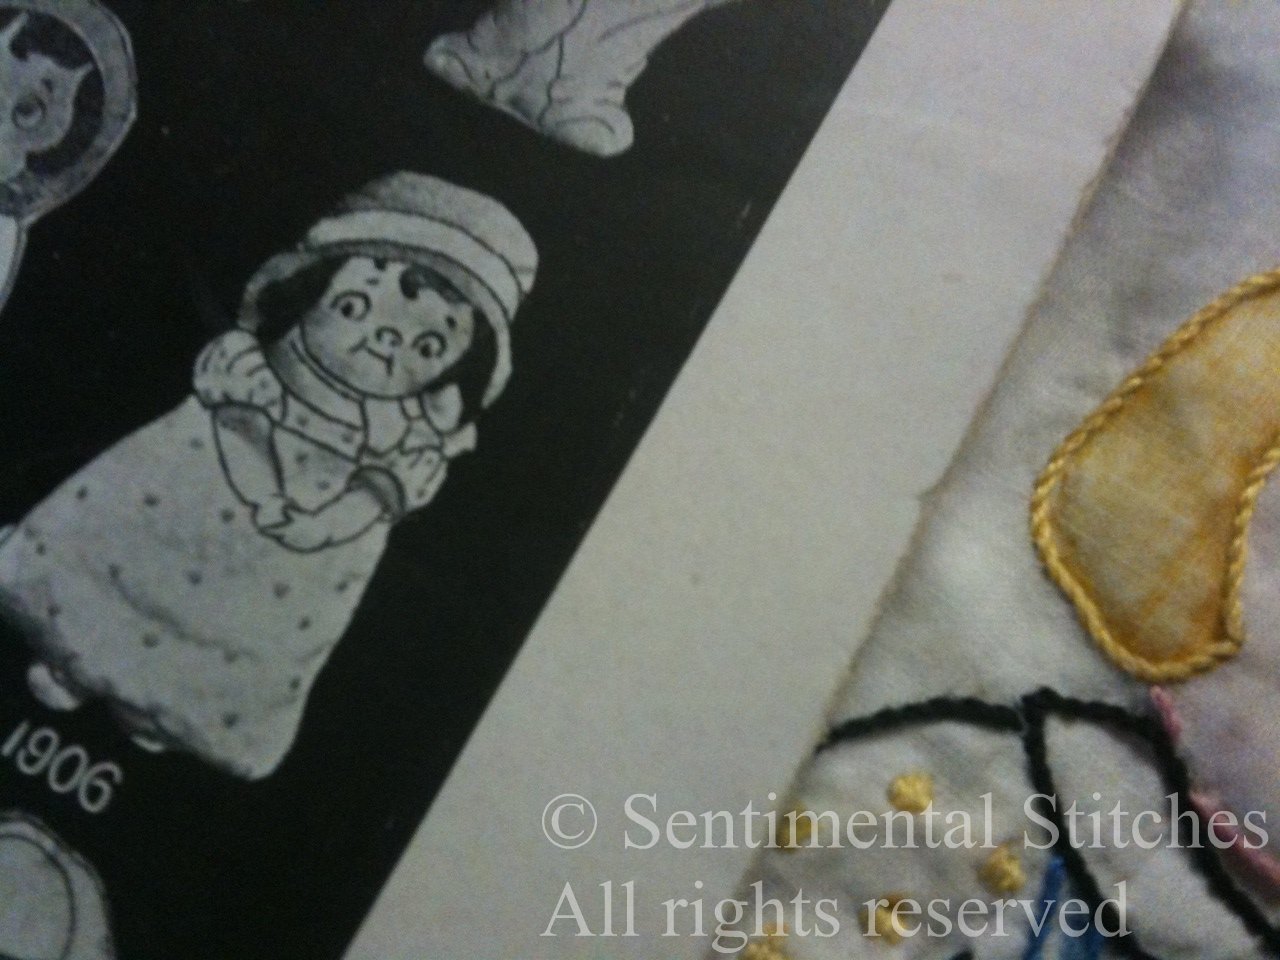
And then there are the Cuddle Dolls - Sewing bags - Pincushions - Dresser Scarves - Doilies - and on and on.........
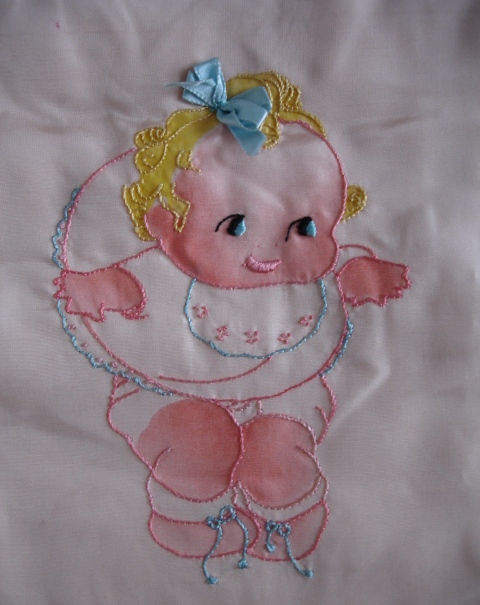
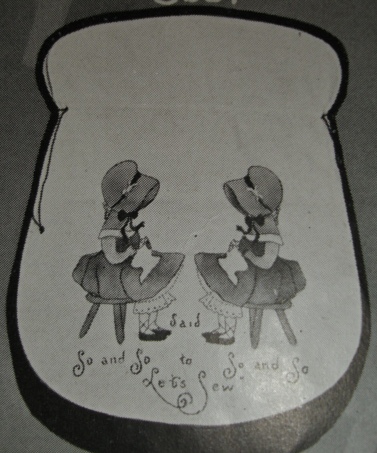


Embroidery designs? Imagine books about 24" x 30" in size. Each one is 2" thick and filled with pages and pages of embroidery and applique designs. There are thousands of them!

I'm afraid I don't have a picture of those design books handy but did find a photo from moving day of another huge stack of loose designs. I think you get the idea there are thousands of designs.
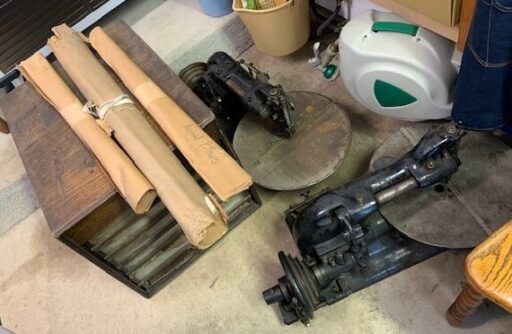
I can almost guarantee you've never seen those two black, metal machines. Those are the machines that made the very first slotted quilting stencils back in the 1930s. Their tables and motors aren't there but when reassembled, I could show you how the stencils were cut. I was taught to cut stencils when I was about 12 years old and made thousands of them over the years.
The black wood case next to the machine contains mimeograph masters to print instructions for the quilt kits.
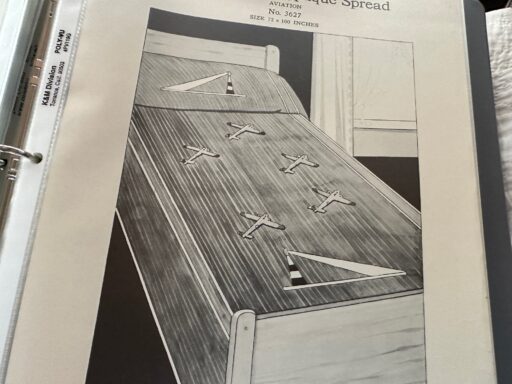
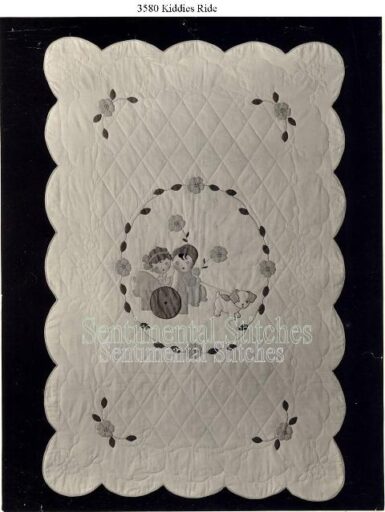
More quilts? How about a few applique quilts this time..........


There are boxes of record books containing information on fabrics, threads, floss, trims, buttons, and anything used to assemble a kit. They tell how much it cost to manufacture a kit and how much they were sold for. You'd be shocked! Each quilting stencil manufactured was timed for how long it took to make it.

Those record books have the potential to change quilt history from that time period and things we believed to be true. For instance.....
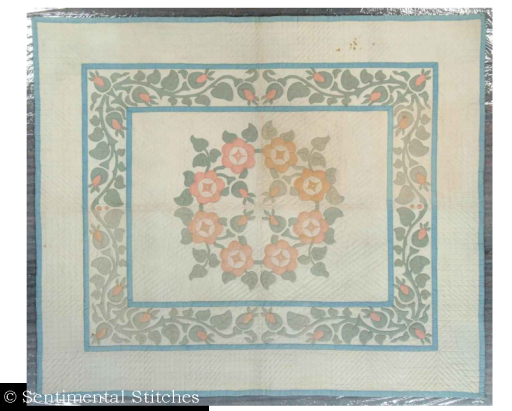
This quilt is in the collection of the Grand Rapids Public Museum and was given to them by Mrs. Robert W Irwin (Irwin Seating), a prominent Grand Rapids, Michigan resident. The making of the quilt is attributed to my father and the Needleart Guild. As nice as that sounds, it's not true. Within the record book of samples that were made, I can provide the museum with the actual date the quilt was made by the Wurzburg Company specifically for Mrs. Irwin along with what was paid for it and probably who made it for her and how long it took to be made. Can you imagine someone timing you to see how fast you could applique? Yikes! The interesting thing about this is sample quilts were only made for the stores that sold the quilt kits which leads me to believe Mrs. Wurzburg and Mrs. Irwin were friends. Based on their social status within the community, it would be unusual if they didn't know each other.
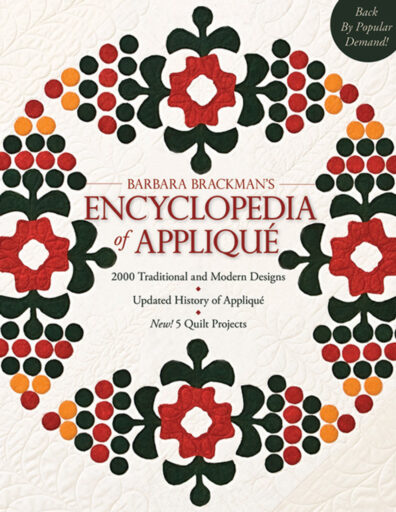
The record books on quilt kits manufactured challenge the identification of some of the quilts in Barbara Brackman's Encyclopedia of Applique, Several quilts attributed to Herrschner's, Paragon, Lee Wards, and others were actually manufactured and labeled for those companies by the Wurzburg Company. Were they Wurzburg designs or designed by someone else? In many cases, they were Wurzburg designs.
Please don't misunderstand and think I'm being critical of anyone. Everyone works with the best information they have at the time which leads me to the million-dollar questions ..........
Does it really matter that some of this information isn't accurate? - I'll contact the GRPM and Barbara Brackman so they can update their records

Does anybody want to learn about Jane Wurzburg and her family? - I have to admit I've always been fascinated by her, her interesting, amazing life, and how she created such beauty through tragedy before she took her own life.

Does anyone have an interest in making quilts or embroidered things from these designs? - I would hope so but it'll take an army of stitchers to help me.

Where should all of this end up so it's available for future generations of quilters to study? - A museum? Would they want to be bothered with things like this? If so, which one? I don't want this to end up stuffed in a basement somewhere so no one can view it.
I've got to admit, all of this is weighing heavy on my heart and mind. I feel a great sense of obligation to my Dad and his legacy. These things have been saved for nearly 100 years. They have been treasured and protected by two generations of my family alone. I'd hate for that to have been done in vain. For now, the storage unit is on autopay until decisions are made.
I also feel a great sense of obligation to the quilters of today and future quilters too. It's not lost on me that once I'm gone, there's no one who can share this history. Having lost my mother and two aunts to Alzheimer's the worry of my memory fading looms large in my mind as I'm not getting any younger. I've thought several times about getting started on this but something always held me back. Now, there are no more excuses.
The time it's going to take just to catalog all these things is almost mind-boggling. I can't just drop everything Sentimental Stitches is doing to focus only on this unless there are enough people who want to take part in something really unique that would allow me to do that. Would they be interested in making quilts from these patterns? What about the thousands of embroidery designs? Is hand embroidery interesting enough or do more people do machine embroidery? Would anyone watch videos of me going through boxes and telling stories? Would they want to see a setup of how quilting stencils were made or how quilt kits were manufactured? Another big one - Are the quilt patterns in good enough condition for me to even draft them or will I need to treat each roll before I can open it for review?
So many questions I just don't have answers for so there will be lots and lots of prayerful thought going on around here as decisions and plans are made.

Many years ago I remember my Dad asking me what I thought the future was for our family in quilting. I thought for a minute and without hesitation said "I think our future is in the past". Perhaps that'll be true...............
I'd love to hear your thoughts and suggestions. Quilters are an amazing group of people - talented, creative, and generous. I've always been proud to say I'm a quilter and hope you feel that way too. If you're so inclined, say a little prayer for me that God's hand will guide my path forward.
I wish you always - happy stitching,
Gayle


Follow Me!