Advertisements:
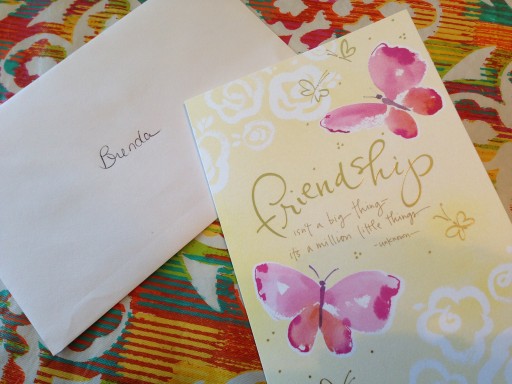
Our quilt for Brenda was shipped on Tuesday and arrived Thursday. When the
plea for blocks went out I promised to take lots of pictures so you could share in the creation journey too. I hope you'll be pleased.
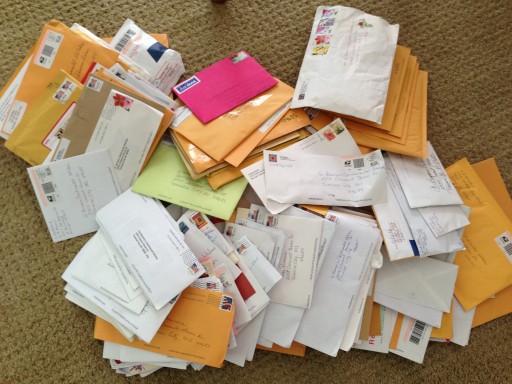
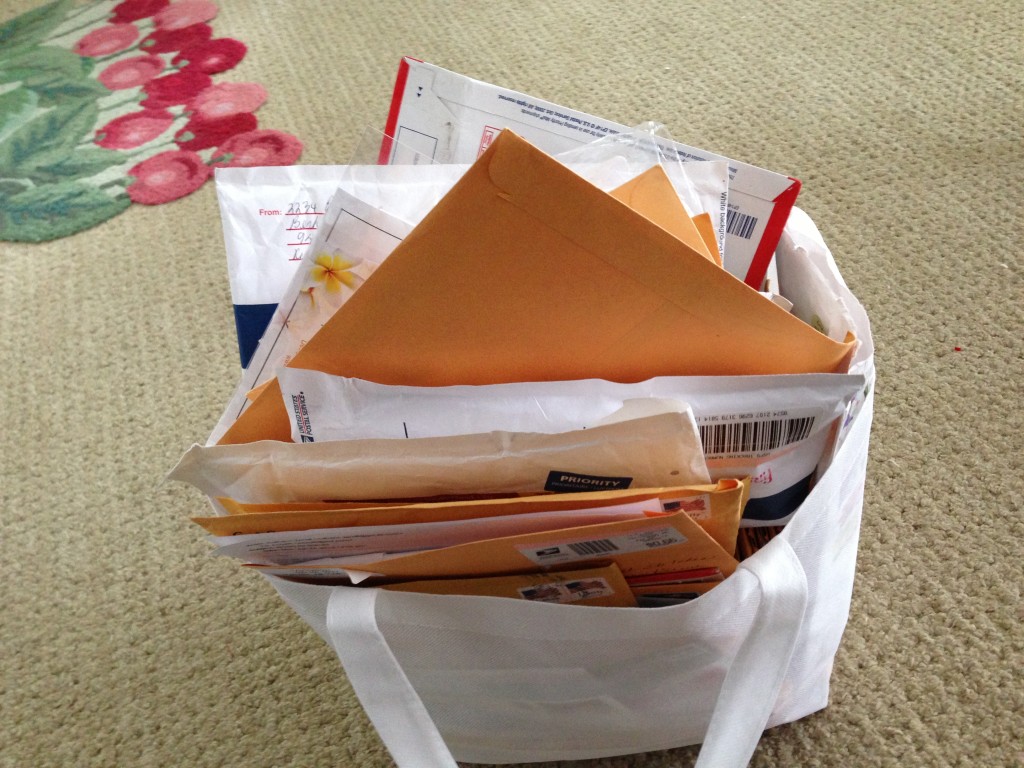 After the email went out to The Just Takes 2 quilters, they did a fabulous job of spreading the word about the request for blocks. I was sure we'd have enough blocks to make a lap size quilt for Brenda to wrap up in but never anticipated that the bag I was storing envelopes in would soon be overflowing!
 I can't imagine what the USPS and my mail carrier must have thought seeing envelopes, sometimes 20 a day coming to this little place on the lake. There were blocks from 37 states and 9 foreign counties. Brenda has truly touched the world!
 The countries include: Australia, Switzerland, Belgium, Canada, Great Britain, France, Saudi Arabia, Netherlands and United Arab Emirates.
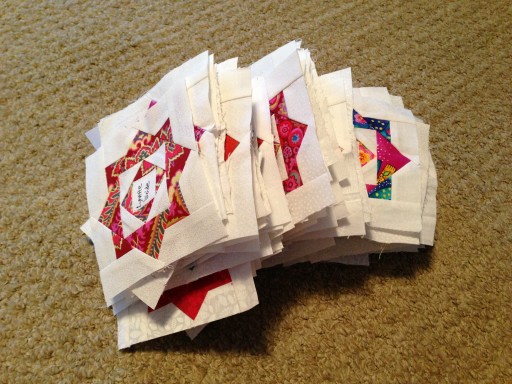 When I started opening envelopes one stack grew ...........
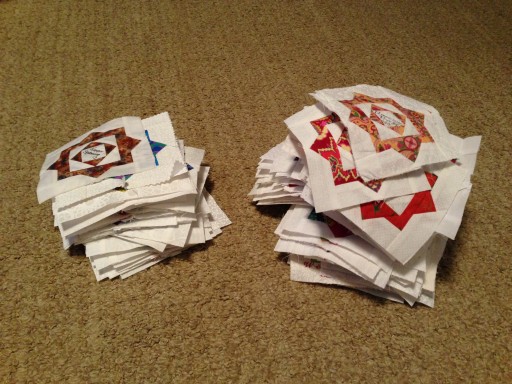 to two stacks ..........
 and then to three........
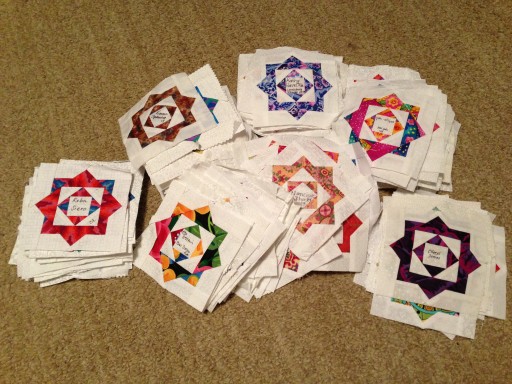 to a total of 241 blocks!!! Â Have I told you how amazing you all are?
 Once the blocks were coming in it was time to start thinking about a layout for the quilt. Not knowing how many blocks I'd end up with my first thought was to make a lap quilt with sashing between the blocks and a pretty border. If there weren't enough blocks I'd put a larger block of something in there as a filler but the more blocks I started to receive the more I realized this quilt was going to take on a life of it's own and I'd just have to let it lead the way.
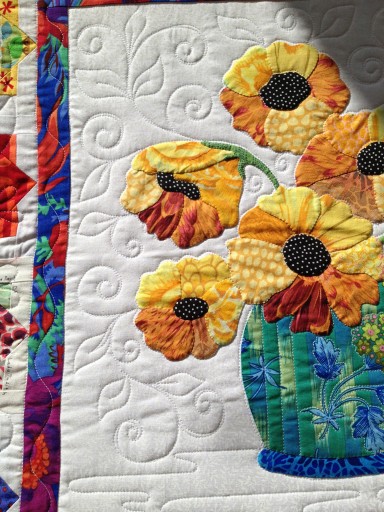
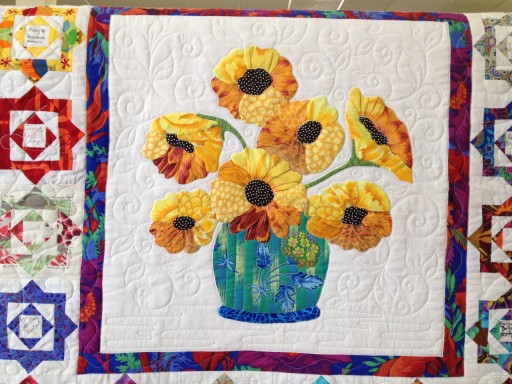
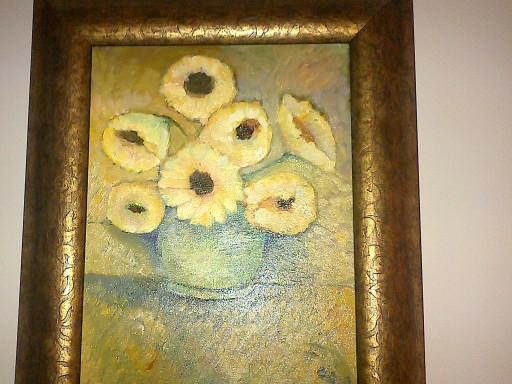 Knowing Pete was an artist I enlisted the help of Brenda's son Michael to see if he could send me a picture of one of Pete's paintings.
 Here's the block drawing I came up with.
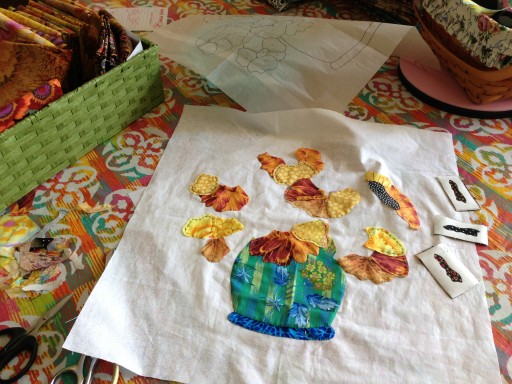 I started working on the center block while waiting for blocks to arrive.
 I used freezer paper window templates to audition each piece of fabric.

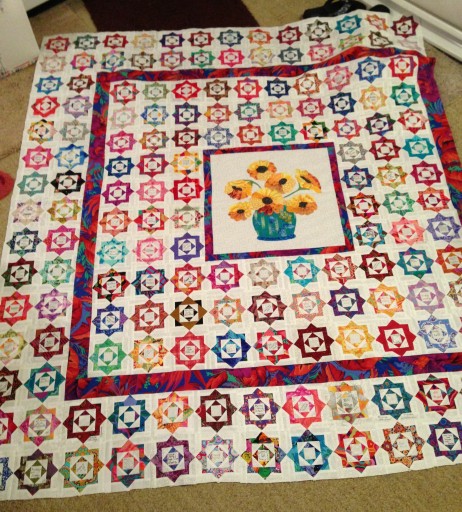
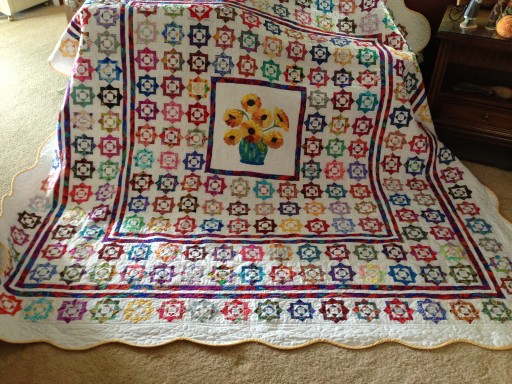
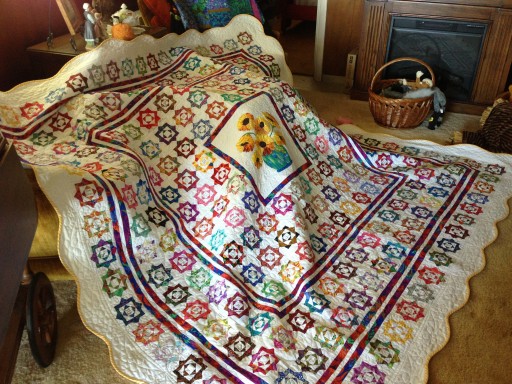
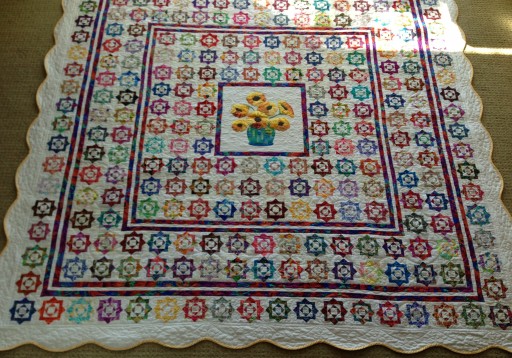
I hope I captured the essence of Pete's painting. Now it was time to see how many blocks I had and finalize the layout of the blocks. I had to scrap some of my original plans to add sashing which would have allowed me to standardize the size of the blocks. There were blocks in sizes ranging from 4" to 6". If I added sashing to 241 blocks the quilt would be "ginormous" and most likely unusable. Remember, Brenda lives in Texas and it doesn't get cold there. I thought about using blocks on both the front and the back but couldn't convince myself that was a good idea. How would you line it all up when it came time for quilting? Would someone feel badly if their block was on the back rather than the front? In the end I decided to work with the blocks without sashing and am glad I did. The quilt finished at a 90" square with a layout using 256 blocks.
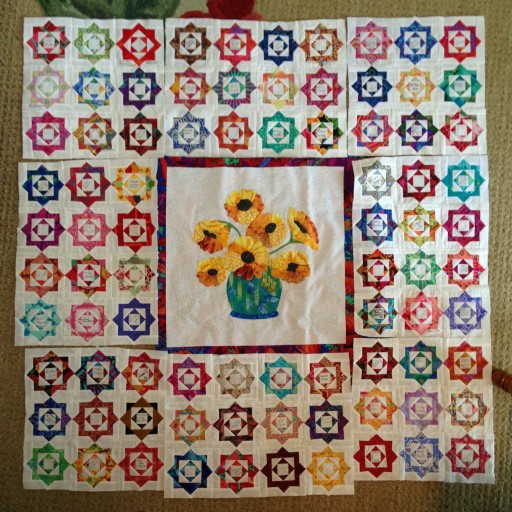 I divided the layout in sections, began laying out blocks and sewing them together in groups.
 Here's the center section sewn together.
 I used a Kaffe print as a divider border and started the next round.
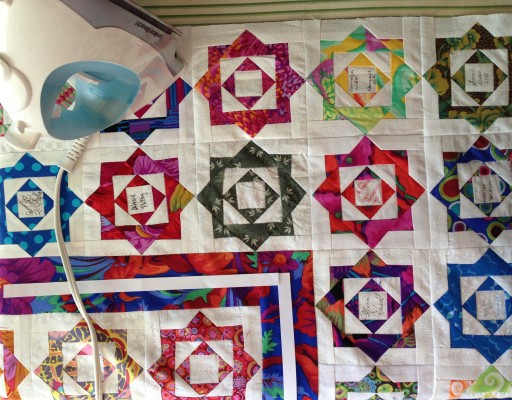
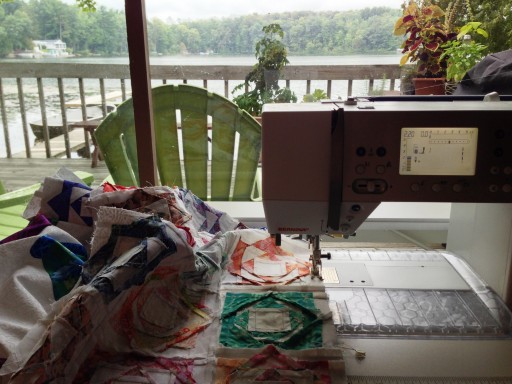 I did have a room with a view to sew the blocks together.
 Soon there were block sections all over the cottage. Clutch and Zoe began sulk from lack of attention.
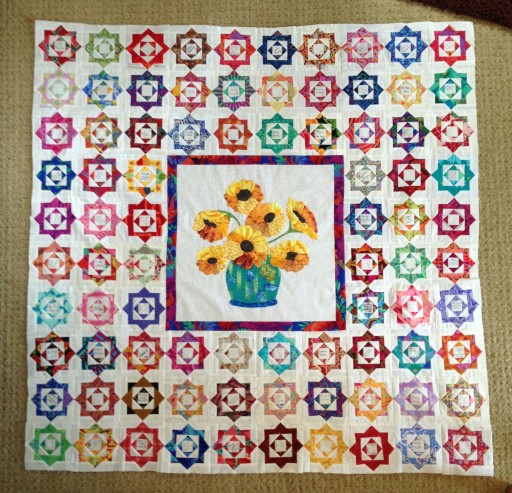
 And then there was this..............I didn't think I liked the way things looked! What in the world was I going to do? I thought the border strip of Kaffe fabric was just a bit "too much". If I made it narrower it would throw off the math of the entire layout and that didn't seem like a good idea. What should I do?
 From the very beginning of this project Edith Shanholt offered to be my sounding board and support system for this project. She also helped make the extra blocks needed for the final layout. Thank you, thank you Edith! She endured numerous emails beginning with "what do you think about...."? This time was no different. Maybe I could divide and conquer? I needed an honest opinion about my solution. I have to admit I knew what she was going to say and it was going to nick a few more days off the schedule but we both agreed - the white divider strip looked better. What you wouldn't know from the picture is that the addition of the strip was going to be needed on not just the border you see but another border yet to come.

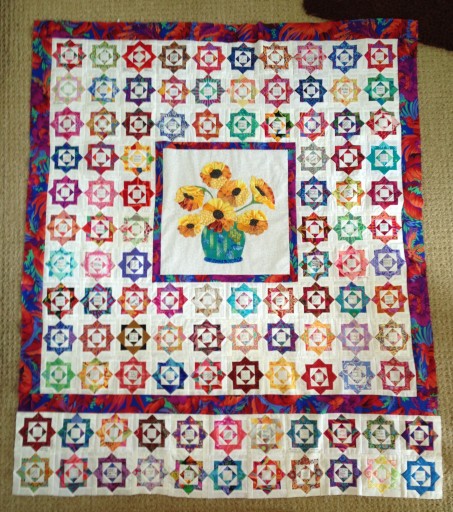
 One thing leads to another - how would I resolve the corners? I thought about taking things all apart and piecing the border again with the white strip down the center but being the crazy applique fool I am decided - I'll just applique it down and piece the next one to save time. Well, duh..........that would look pretty tacky so applique all the way was my decision. If I kept at it I should be able to applique one side each day.
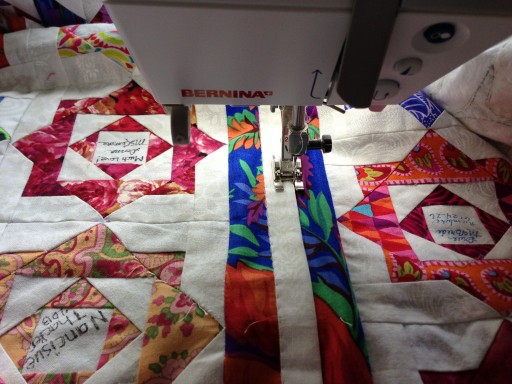 Most of you, me included, will be shocked to know I ended up machine appliqueing the white strips on the borders. Time was getting away from me and I thought it would be a faster. Looking back, I'm not so sure. Maybe I should have taken the print border strips off the quilt, sewn the white on and put them back on but I thought the corner resolution I decided to use would be a real hassle doing it that way. I figured putting the entire top together and then appliqueing those white strips on would be the fastest, easiest way to fix things.
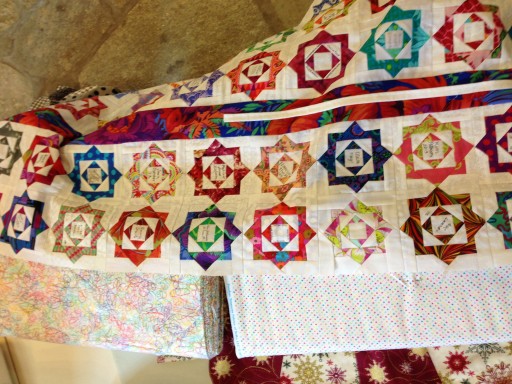
 What's wrong with this picture? I can't begin to tell you how heavy the quilt top was with all the seams in all those blocks. I got some major workouts maneuvering a 90" square through the machine. It didn't help when I finished sewing one of the longest seams in the quilt and found I'd sewn it on up side down! Wine and chocolate were needed after that!
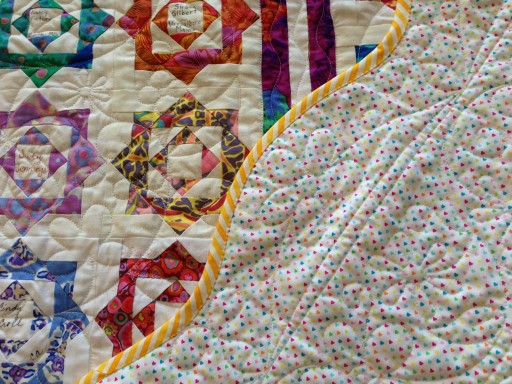
 I went to several shops looking for the perfect backing fabric and decided on the one with a million little hearts!

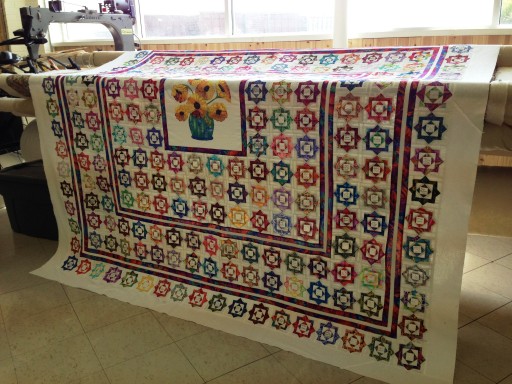
 I don't remember the exact date I finished the top but the very next day I packed us all in the car for a trip to see the only person I trusted to quilt such a special quilt, Tammy at TK Quilting & Design. The top looked pretty good spread across one of her machines as we discussed the quilting.
 Tammy made room in her busy schedule to quilt Brenda's quilt for us. Â Not only is she an award winning quilter, she is one of the nicest, most generous people you'll ever meet. When I went to pick up the quilt she said she just couldn't bring herself to make out a bill for the quilting. That's Tammy! When I get done with the final accounting of our expenses I will make it right with her!
If you're not familiar with Tammy's quilting and all the wonderful things TK Quilting has to offer you can read about her HERE.
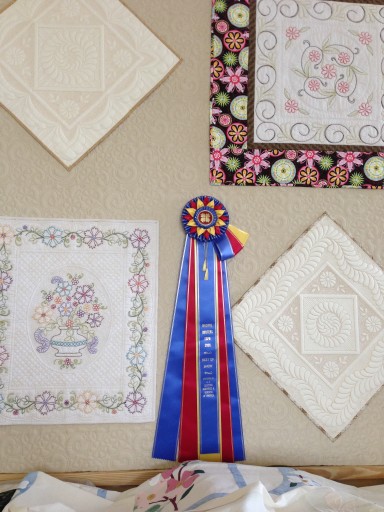
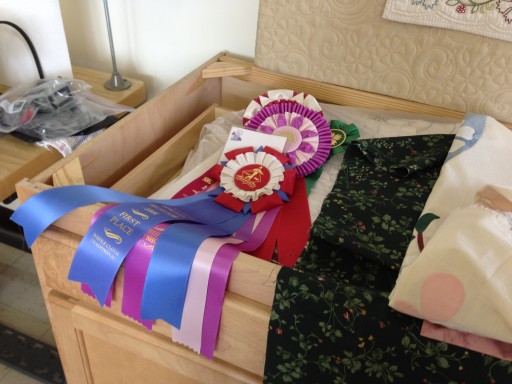
 These are just a few of her awards for machine quilting and design. You can watch her on Episode 510 of The Quilt Show. She's also an authorized Gammill dealer so if you live anywhere in the tri-state area and are considering a machine (or need service) TK Quilting is the place you need to go.
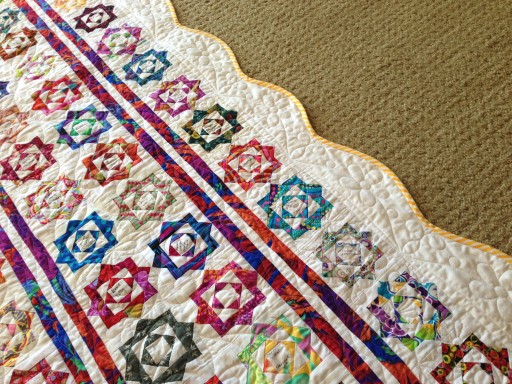
Tammy created a new design just for this quilt after being inspired by the fabric used in one of the blocks. The flowers and gentle curves are so perfect. Let's take a look at the quilting -


 Tammy shared the pictures she took after the quilting was completed. It's true what they say - "quilting makes the quilt"!
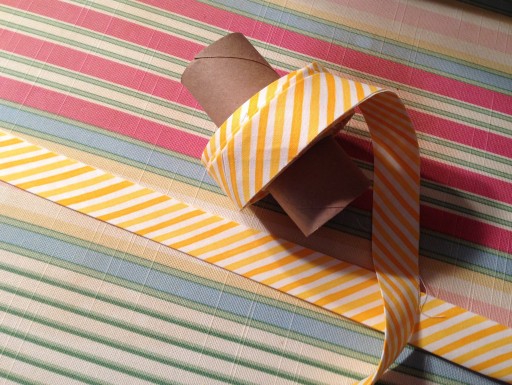 It was time for me to think about miles of binding to go around the edge. I asked Tammy to give me a scalloped edge to balance out all the geometry in the quilt. She wisely made a serpentine edge for me to make the binding process a little easier. She also suggested using a gold/yellow stripe to draw the colors of the flowers out to the edge of the quilt. Great suggestions Tammy!
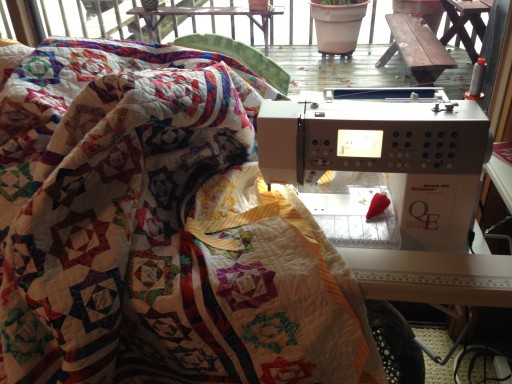
 Back to my "room with a view" to machine sew the binding. Those people who know me also know I have quilts that were quilted 7 years ago and they still don't have their binding on so this was a challenge for me on lots of levels. I pushed through and I almost mean that literally. I used the lightest batting I could find and the quilt still weighs 8 pounds!
 I have a great appreciation now for Clover Wonder Clips
 They make the job of sewing binding down so much easier.
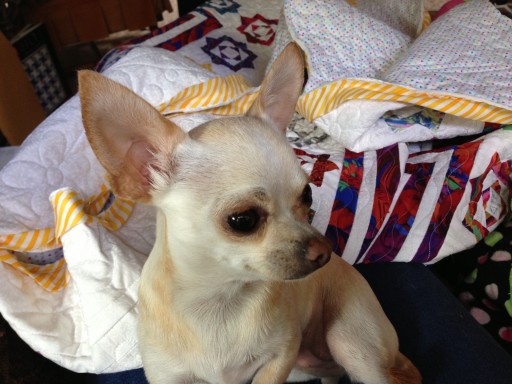
 I had lots of help working on the quilt.
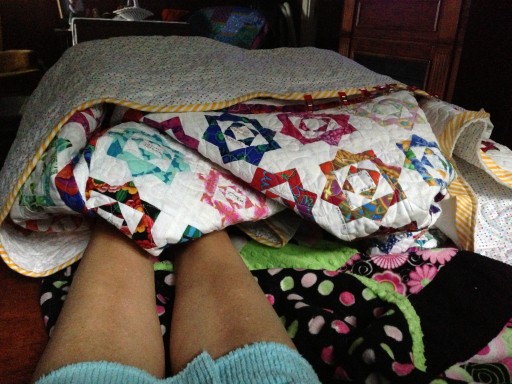
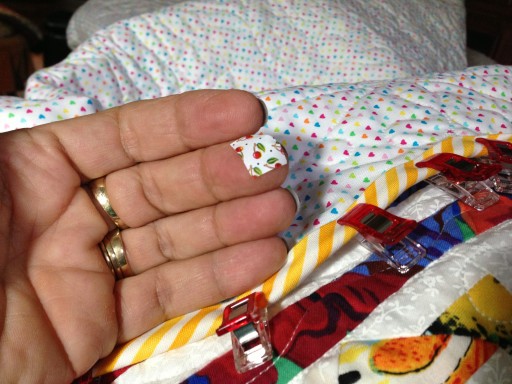 There were times I used it to keep my feet warm in the evening and when I wore a hole in my finger from stitching I pulled out my fancy Mary Engelbreit band-aids to use as a psuedo thimble.
 After two solid days of stitching, the binding was finished! There was still more to be done.

 Okay, I had to pause a little to look at that pretty edge, the quilting and the million hearts backing.
 There was a label to be made and sewn on the back.
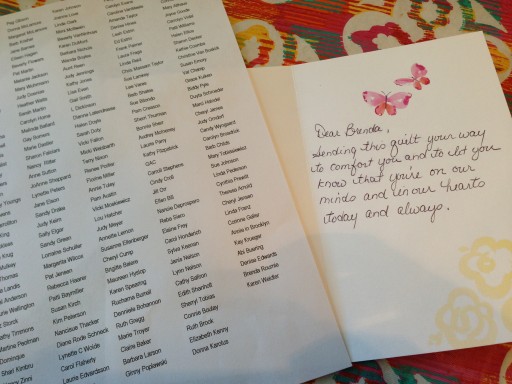
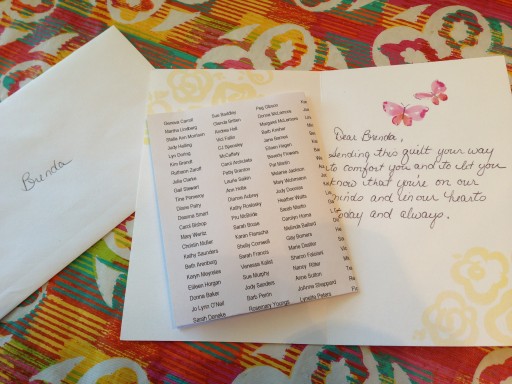 We needed a card and list with all our names.

 If you sent a card to be forwarded to Brenda it went in the box. I wrapped the quilt in a raincoat and tissue paper, sealed the box, printed a label and hand delivered it to the Postmaster at the Interlochen, MI post office.
 From this..........
 to this!
I've learned a lot with this project. Every block I received was included in the quilt.
To the quilter who couldn't find her pigma pen - I signed your block for you.
To the quilter who broke her wrist and couldn't finish her block - thanks for sending your fabric and pieces, I finished it for you.
To the quilters whose blocks came out too small, they were steamed into submission or got a log cabin border and trimmed to a perfect 5" and if your block was too large I tried to trim carefully.
To the quilter who took the leap of faith and made her very first quilt block to be included in the quilt, I adore you!
We had one quilter who missed the first deadline for turning in blocks but was traveling from Virginia to Traverse City to see family over the 4th of July holiday weekend. She emailed me hoping we could meet and she'd give me her block. I had lots of company for the holiday and didn't see her email until it was too late. We quilters are a determined bunch so she went into one of the local quilt shops (Quilt'n Bee) and mentioned to them she was trying to find me. Sharon, one of the owners, happened to be working that day and said "I know Gay, I'll get your block to her"! She put the block safely in an plastic pattern bag in their file cabinet until I could get there. You can't imagine my surprise when she pulled out the block and I saw that it was a 6" block! The blocks in the quilt are traditional 4 1/2" Dear Jane blocks! Â To you dear quilter - not to worry, I frog stitched your block, cut the pieces down and put it back together again. The only thing we lost was the name of your city. I didn't think you'd mind.
Deadlines and schedules always seems to be a challenge. I must admit one of the things I learned was that if you set a deadline you need to stick to it. I truly wanted everyone who wanted a block included in the quilt to get it in there so I extended the deadline more than a couple of times. For those of you who I finally had to say it was too late, I am really sorry and it was nothing personal, I was a month behind what was planned and in the end we were a month behind schedule almost to the day in delivering the quilt.
At times I felt I was taking a trip down memory lane seeing names of old friends I hadn't seen in a long time. Brenda will be so thrilled to see your names on the quilt.
I never quite understood when people would say "there just aren't words to tell you....". There's got to be a million words in the English language. How can there not be words? I truly understand now. No matter how I try to say thank you to all of you for what you've done it just never comes out expressing the gratitude I feel. The two little words "thank you" just aren't enough! Â It's a wonderful thing you've done and I'm honored to have been a part of it. Thank you!
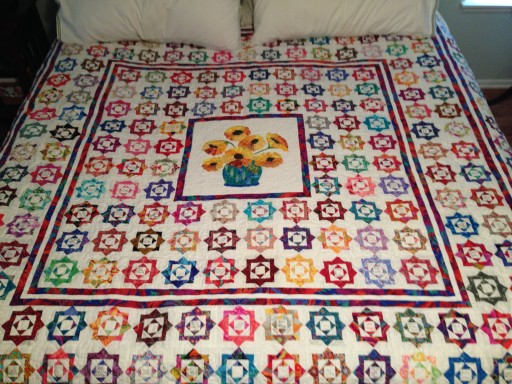 Just received this picture of the quilt happily at home on Brenda's bed and a note asking me to tell you she's eternally grateful to all of you for such a joyous gift to honor Pete.

I will do a final accounting of expenses paid by your generous donations, make sure Tammy is paid for her beautiful quilting and amend this to let you know about a donation to the church.


 The tree looked like this when I came back up north after Rob's Mom's funeral.
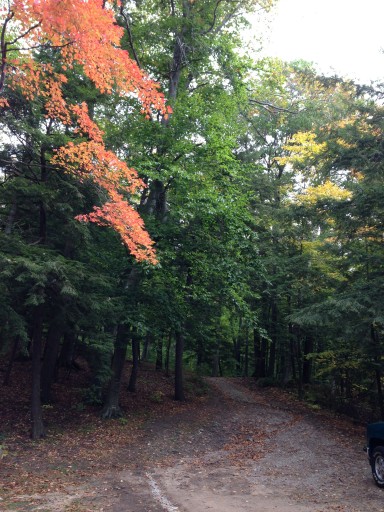 Just a few weeks later it's a treasured guardian next to the driveway.
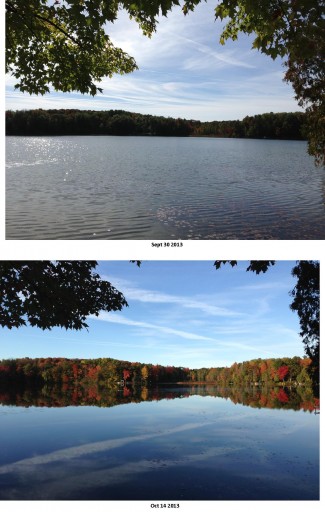 Isn't it amazing how quickly the colors can change. These two pictures were taken only 2 weeks apart. I've been taking them every Monday since the end of September. I only have a few more to go before I head home for the winter.
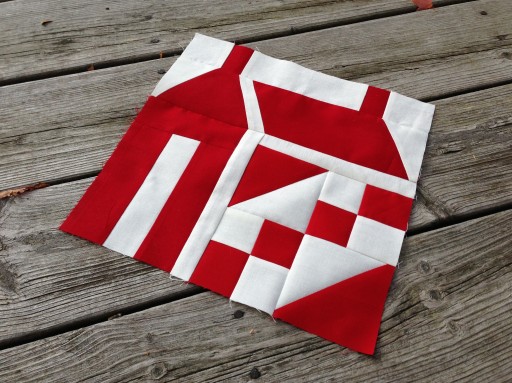 Today is a Just Takes 2 day and we're on our 18th block in the quilt. I just took a look over at the blog site and couldn't believe no one has posted pictures since May! I have to admit I haven't posted anything since July myself. That's okay, the site will be getting a makeover soon in anticipation of the 2014 Just Takes 2 quilt. Trust me...........you're going to love, love, love it! Brenda and I are making a special trip in a few weeks to take great closeup pictures we'll be able to share with you later. Sorry but that's all the hints I'm giving right now!
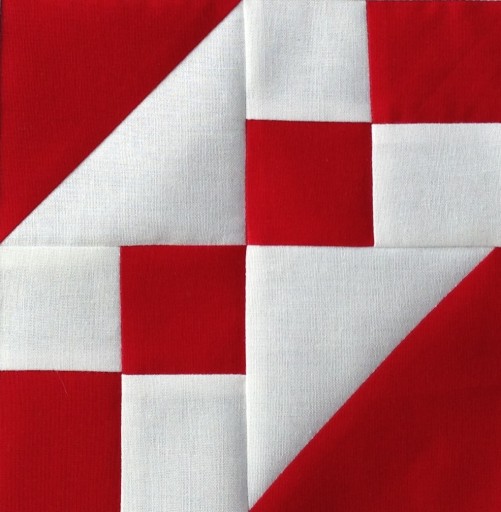 This is the block you'll be making. It's rotary cut, machine pieced, quick and easy!


Follow Me!